Celtic knots puzzled me when I was a kid. I could not imagine how an endless knot could be tied. The legend about the Gordian Knot made it even more mystical. Recently, I attended a presentation on drawing Celtic knots on wooden plates and bowls as decorative motifs. The presenter, Sharon Doughtie, has done a wonderful job by sharing her techniques, showing the decoration in progress, and answering questions. Let me share my experience with woodburning coasters featuring a Celtic knot design.

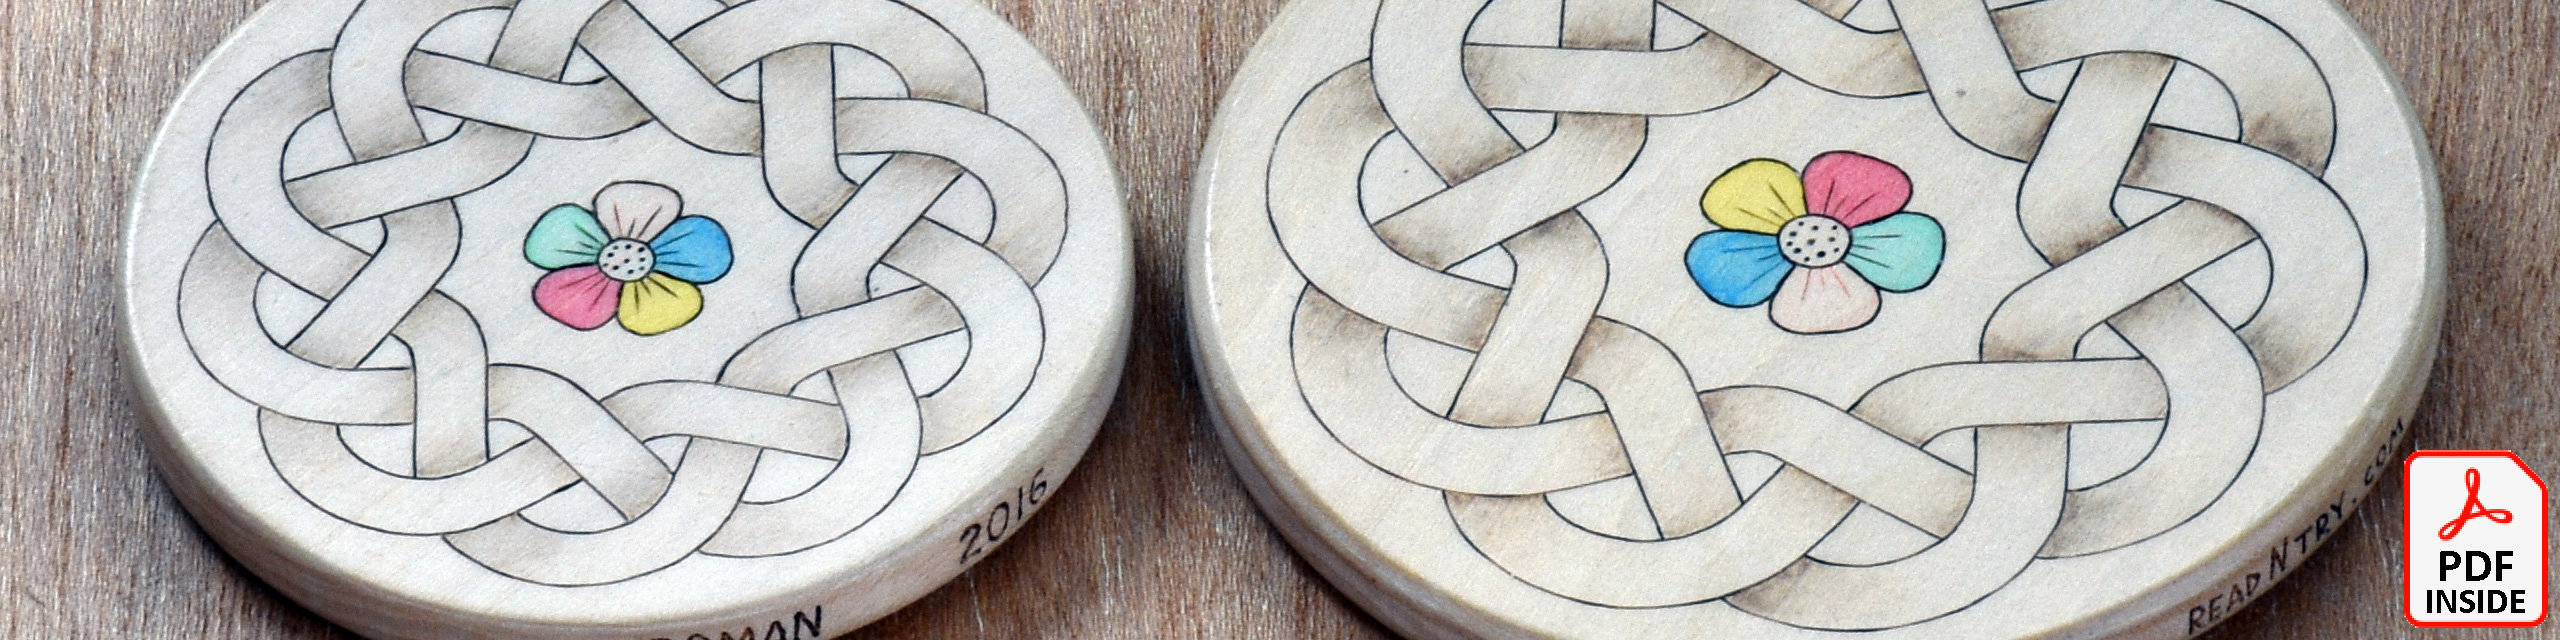
I wanted to try the learned techniques on a simple project, so I decided to decorate a round coaster – the simplest project ever – with a Celtic knot pattern. I made two coasters from basswood: 3.5″ (9 cm) and 3″ (76 mm) in diameter.
There are many different types of Celtic knots. I wanted to use the endless knot variation of the Basket weave knot. To fit that knot on a round coaster, I curved the pattern to fit the knot design into a circle and connected the ends. Well, I didn’t know that time, but I ended up with the Turk’s head knot.
Click the button to download the free, printable, and scalable PDF with a round Celtic knot pattern. It can be used to carve or burn Celtic knots.
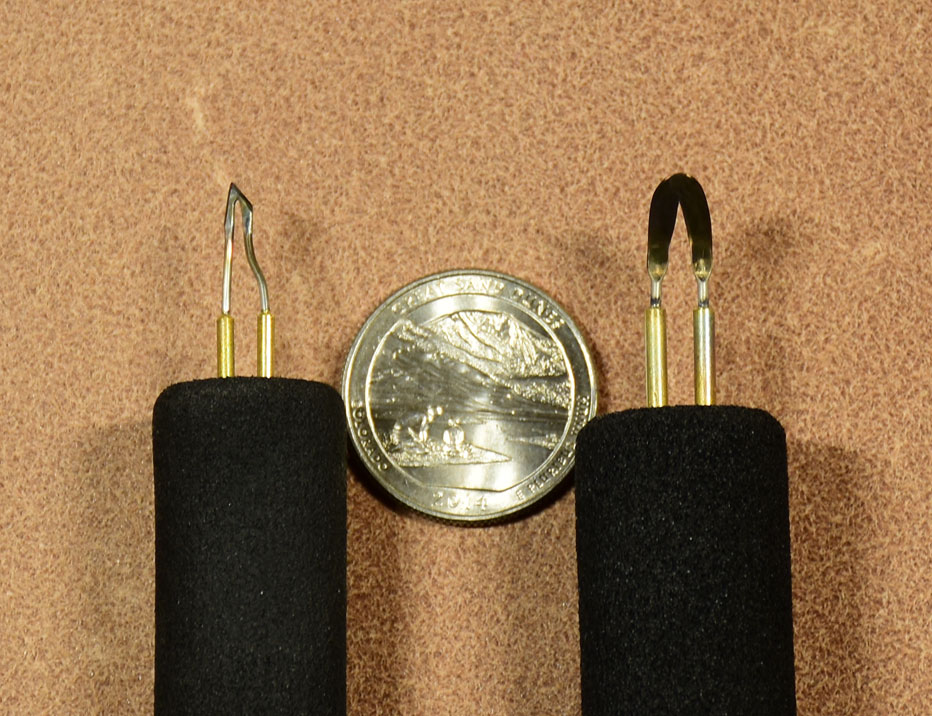
I used a woodburner to “draw” the Celtic knot design. First, I outlined the lines with the mini skew-chisel woodburning pen and then used the shading pen (see the picture) to darken the areas near overlapping bends.
To keep the gradient color consistent, it is important to complete the shading of a Celtic knot without changing the pen tip temperature. I shaded two coasters with different temperatures, so the larger coaster is a little darker.
Shading was a real challenge (I spent several hours on it), but I was glad to see the 3D effect on these coasters in the end.
Leave a Reply